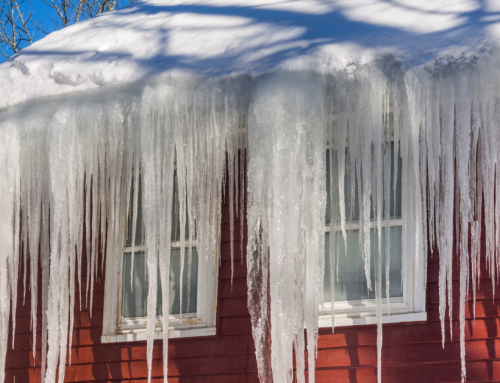
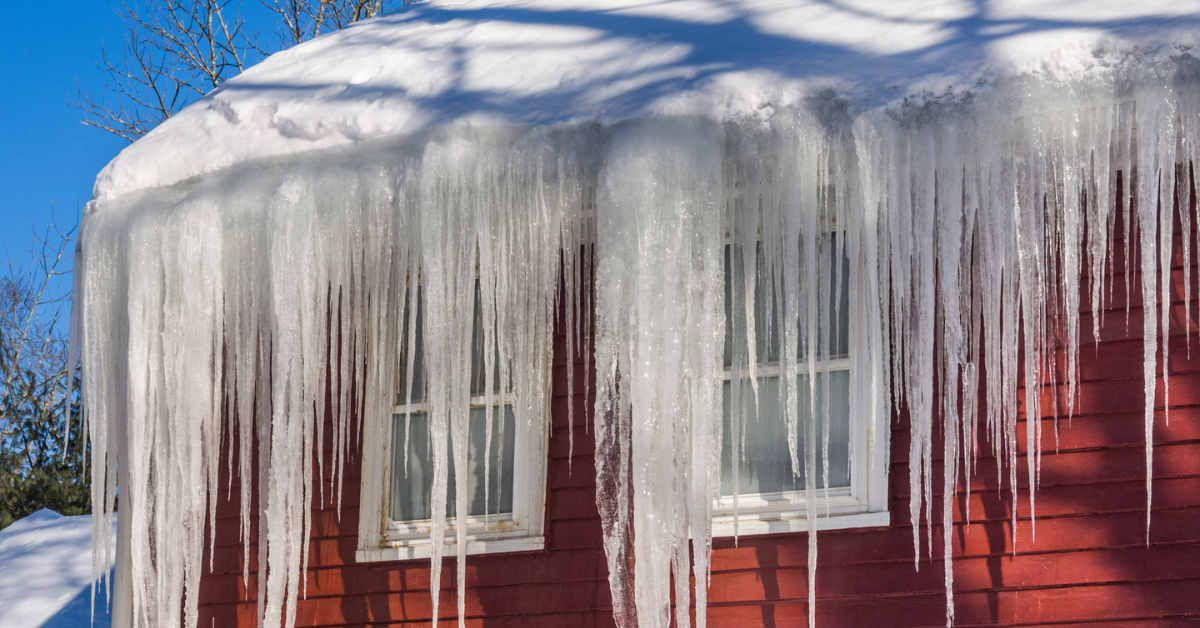
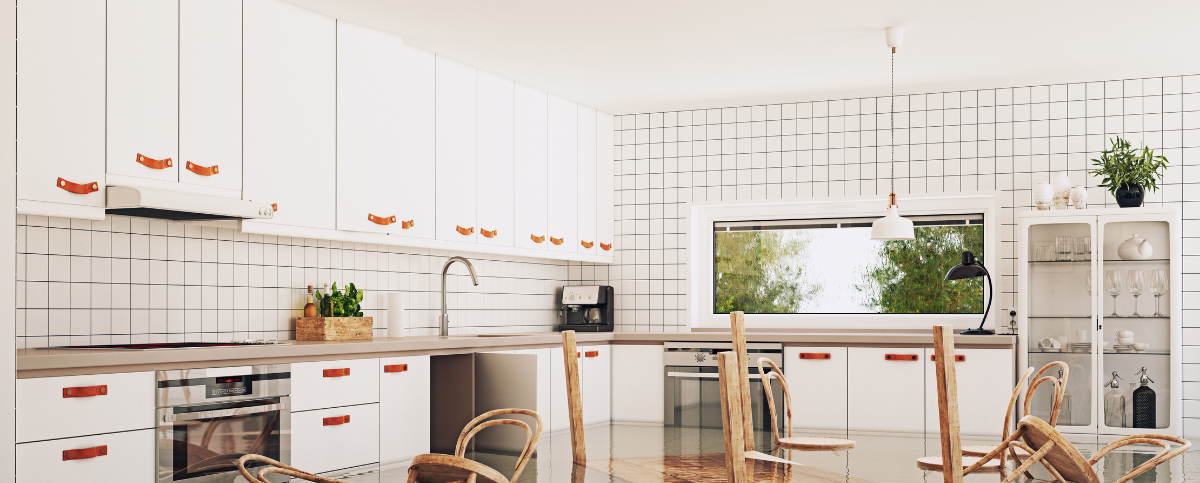
Water damage can happen without warning—burst pipes, overflowing appliances, storm flooding, or roof leaks can turn a normal day into an emergency within minutes. When water enters your home, every second counts. The actions you take within the first 24 hours play a major role in how much damage occurs, how much your repairs cost, and whether mold becomes a serious problem.
Here’s a step-by-step guide to help you respond quickly, safely, and effectively after water damage strikes.
Why the First 24 Hours Are So Critical
Water spreads fast and doesn’t stay on the surface. It seeps into:
- Drywall
- Flooring and subfloors
- Cabinets
- Insulation
- Furniture and personal belongings
Within hours, materials begin to swell and weaken. Within 24 to 48 hours, mold can begin growing in damp, hidden areas. Fast action during this window can:
- Prevent permanent structural damage
- Reduce the risk of mold
- Save more of your belongings
- Lower overall restoration costs
- Strengthen your insurance claim outcome
Step 1: Make Safety Your First Priority
Before beginning cleanup, make sure everyone is safe.
Check for Electrical Hazards
If water has reached outlets, appliances, or electrical panels:
- Avoid standing water
- Turn off electricity at the breaker if safe
- Never use electrical devices in wet areas
- Look for Structural Risks
Sagging ceilings, warped floors, and soft drywall can signal serious structural weakening. If you see these signs, stay clear until professionals inspect the area.
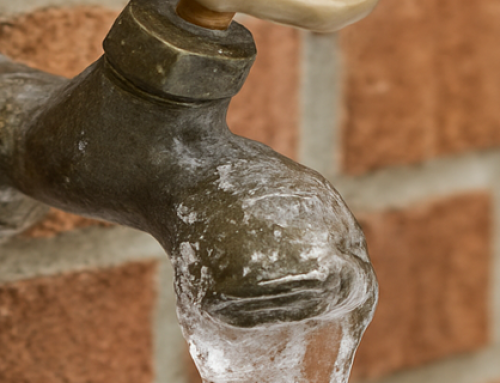
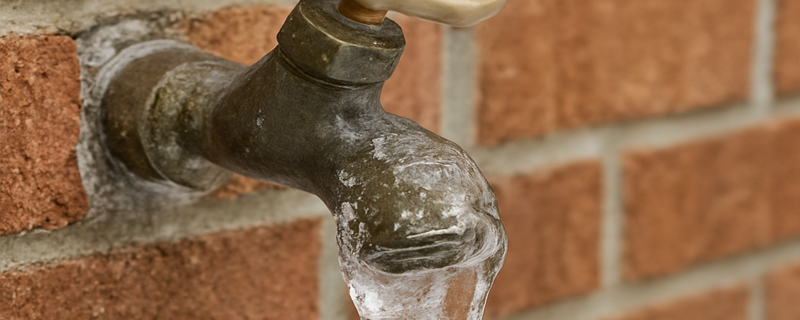
Step 2: Stop the Water at the Source
Stopping the water immediately limits how much damage continues to occur.
- Shut off the main water valve for burst pipes
- Turn off leaking appliances
- Place temporary barriers or buckets for roof leaks
- If flooding is outside, wait for safe water levels to recede
If you can’t find the source, restoration professionals can locate it quickly.
Step 3: Call a Professional Water Restoration Company Right Away
One of the biggest mistakes homeowners make is waiting too long to call for help. Professional water restoration teams provide:
- Emergency water extraction
- Moisture detection inside walls and floors
- Industrial drying and dehumidification
- Mold prevention treatments
- Insurance documentation support
Household fans and shop vacs simply can’t remove moisture from structural materials. Delaying professional drying almost always leads to hidden damage and mold growth.
Step 4: Contact Your Insurance Company
Once the water is stopped and professionals are on the way, notify your insurance carrier.
When you call:
- Explain what caused the damage
- Describe which areas are affected
- Ask about emergency mitigation coverage
- Start a claim immediately
Avoid signing any major repair contracts before speaking with your adjuster. Most restoration companies can coordinate directly with your insurer to simplify the process.
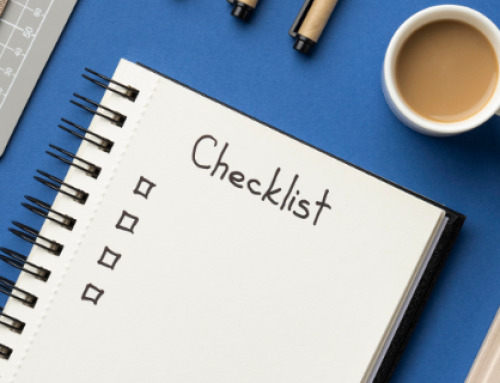
Step 5: Document the Damage Thoroughly
Documentation is critical for protecting your claim.
Take Photos and Videos of:
- Standing water
- Damaged walls, floors, and ceilings
- Furniture and personal belongings
- Any visible mold or staining
Create a Damage Inventory:
- Electronics
- Furniture
- Appliances
- Clothing
- Important documents
Do not discard damaged items until your insurance adjuster approves removal.
Step 6: Remove What You Can — Safely
If conditions allow and water levels are shallow, take steps to reduce damage:
- Remove small furniture and area rugs
- Lift aluminum furniture legs off wet floors
- Place foil under wooden furniture legs
- Move valuables to dry areas
Do not tear out drywall, carpet padding, or insulation on your own. Improper removal can spread moisture and mold spores throughout your home.
Step 7: Improve Airflow the Right Way
Ventilation can help slow damage but should never replace professional drying.
If it’s safe to do so:
- Open windows if outdoor humidity is lower
- Run box fans to move air
- Run air conditioning (not excessive heat)
Avoid overusing heat—it can actually accelerate mold growth in damp materials.
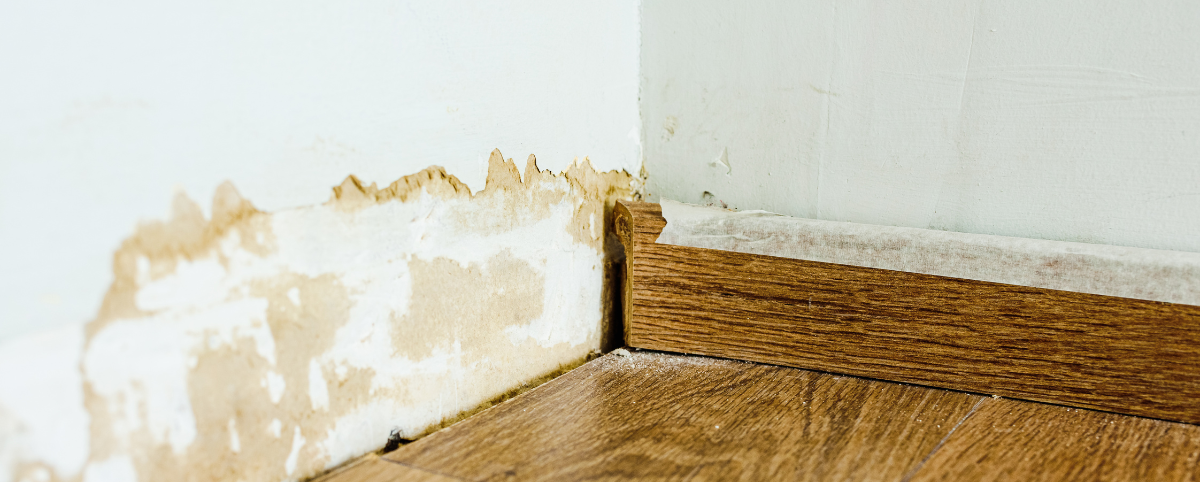
Step 8: Watch for Mold Signs Immediately
Mold can begin forming within 24 to 48 hours after water exposure. Common early warning signs include:
- Musty odors
- Dark or greenish staining
- Increased allergy symptoms
- Worsening air quality
Mold often develops behind walls, under floors, and inside cabinets—places homeowners can’t see. Early professional intervention is critical.
Step 9: Avoid These Costly Mistakes
Many well-meaning homeowners accidentally make the situation worse. Avoid:
- Delaying professional restoration
- Ignoring moisture inside walls
- Using regular fans as the only drying method
- Throwing away items before insurance approval
- Starting demolition without guidance
Water damage is a structural issue—not just a cleaning job.
Step 10: What to Expect from the Restoration Process
After professionals arrive, they typically begin with:
- Moisture inspections using thermal technology
- High-powered water extraction
- Strategic placement of drying equipment
- Dehumidification to remove airborne moisture
- Daily moisture monitoring and documentation
This controlled drying process protects your home’s structure and prevents secondary damage.
Fast Action Protects Your Home and Your Health
The first 24 hours after water damage are the most important hours in the entire restoration process. Taking fast, informed action can be the difference between a minor repair and a full-scale rebuild.
If your home or business has experienced water damage, professional restoration experts can stop the damage, prevent mold, and guide you through every step of recovery—from emergency response to full restoration.
